Simply Resourceful

Simple ways to be more conscious about how we use our resources.

Showing posts with label Crafts. Show all posts

Making Mittens From Wool Sweaters

I have been needing a pair of warm mittens for years and decided to make my own after scouring the internet for a reasonably priced, high quality pair made in the USA.  During my search, I found several websites selling mittens made from wool sweaters, and I said, "Those look easy to make, why don't I make myself a pair?" 

At the local second hand store, I purchased several 100% wool sweaters of various colors.  Before cutting the sweaters, I shrunk them in hot water followed by high heat so the wool fibers would get really tight.

The insides are lined with warm fuzzy fleece.

To date I have made fourteen pairs of mittens to sell at the Wild Ramp and for giving to friends.  

Adding a button to the mitten cuff gives the mittens a finished look and keeps the cuff from folding down.  When I add the button, I sometimes don't stitch down the cuff.

This video provided the best tutorial that I found on the internet.  A printable pattern can be found at: http://romancakedesigns.com/  I found this pattern to be a little small for my hand so I made the pattern a little larger.


Owl Water Bottle Cover


For Christmas this year, Jon gifted Paul and me each a Mabis Water Bottle to cozy-up with at night when crawling into cold sheets.  And of course, these water bottles are good for other things such as: sore muscles, sports injuries, and headaches just to name a few.  Instead of the rubber latex against our skin, I made a cozy for the water bottle using fabric scraps.  The brown fabric is a fleece jacket sleeve and stays closed with velcro in the back for easy removal.  A primitive stitch attaches the wool designs to the brown fleece fabric.  The owl wings are corduroy fabric.  This was an easy and fun winter project.  I am still trying to decide what cozy I should make for the second water bottle. 


How to Make Wood Candy Canes

Years ago I saw wood candy canes hanging from our neighbor's Christmas tree.  I just loved the way they looked and thought, "I can make some of those!"

To begin, I rummaged through the scrap wood bin and cut out the candy cane shape using a scroll saw.

To give the candy canes a rustic look, I used the belt sander to make the edges jagged.  This was a quick process because I didn't want a uniform look on every candy cane.

Next, I painted them with white acrylic craft paint.

For drying, I strung them up with a piece of wire.

Using acrylic red paint, I painted stripes. 

Using a rough sand paper, I quickly rubbed each candy cane to give them a worn look.  

Finished!  If you want a more aged look, dry rub the candy cane with a dark stain.


Make Your Own Holiday Gift Bags

This holiday I am trying to use less wrapping paper by using cloth drawstring bags. Using up some fabric scraps, I made my own.  Listed below are instructions on how to make a bag followed by pictures of other bags that I designed.  Also, don't forget to check out my post titled Resourceful Gift Wrapping from several years ago. 

1. I cut two pieces of red fabric 9x10 inches and two strips of green fabric 3x10 inches.  For each piece of red fabric, attach the green strip by putting right sides together and sew along the top edge.

2. Next I sewed three sides of the bag.  On one of the long sides I left an opening for the ribbon by sewing 1 3/4 inches from the top, stopping, and then starting again 1/4 inch from the bottom of the green and continuing down the length of the red.  For a drawstring bag with ribbon coming out of both sides, you can leave gaps on both sides of the long edges.  (Optional: If you want to keep the edges from fraying, serge.)

3. There are a few ways to sew the bottom corners and there are several youtube videos showing the process.  With the bag inside out, open up the corner and line up the bottom and side seams, fold it flat.

4. Sew across the bottom and side seam one inch from the corner.  Before sewing the other corner, make sure that you fold the bottom seam in the same direction as the opposite corner so that it lays flat and isn't twisted.

When the bag is inverted, this is what a bottom corner should look like, and if you are lucky, the bottom and side seam will line up.

5. With right sides facing out, fold down the green fabric below the side opening, leaving about a 1 1/4 inch fold.  Stitch on the green fabric right next to the red fabric all the way around, checking that the side seams are facing the same direction and not twisted.

This is what the top of the bag should look like with a hole on one side for the ribbon. 

6. For a finished look, sew along the top of the bag.

7. Using a safety pin, thread the ribbon through the opening.  Finished!

Pictured below are a few more bags I made with applique and printed fabric.


I add two layers of batting behind the applique designs.


Handmade Fabric Valentines

Valentine's Day is one of my favorite holidays because it taps into that giddiness I felt as a young girl making my valentine box at school and looking at each and every valentine I received over and over.  It is a special day to tell those you love that you really care about them.  This year during my mom's visit over the Christmas holiday, we made heart pillows using scrap fabric, felted wool, buttons, and antique lace.  These pillows were really easy to make and most didn't even require a sewing machine.  My mom designs and sells quilt patterns and other fun things on her website and has a pattern for these delightful little pillows called "Tokens of Affection."

Every heart pillow is unique with it's fabric combinations and details on the front.

This was my favorite pillow all stitched by hand using felted wool for the red heart, three small white buttons, and a running stitch along the edge.  Simple and elegant.

All of the hearts have different thicknesses using combinations of fiberfill and quilt batting.  

There are so many fun combinations that we just couldn't stop!  All together we made 32 heart pillows.

I really like the hearts with pockets that can hold a valentine or love note!

In addition to the heart pillows, we made vintage valentines printed onto aged scrapbook paper found at an antique store. Some ribbon was also used to give it that old-fashioned look.

Making the heart pillows and paper valentines was so much fun that we couldn't resist selling them at The Wild Ramp!


A Knife Made By a Local Blacksmith


We had the privilege of meeting our blacksmith neighbor, Charlie, two years ago at a festival.  Jon and I were mesmerized watching him hammer away at a red-hot piece of metal while talking to others about the art of blacksmithing.  He had an infectious personality with a knack for educating others and we just had to talk to him.  Some time during our conversation with Charlie we learned that we only live about a mile from each other!  Charlie and his wife Evelyn, are one of those neighbors you are happy to wave to when they drive by, and they never miss a honk of the horn when they see us.  They are pretty awesome people to know, and give more than a generous amount of their time volunteering at the Heritage Farm Museum in Huntington, WV.

When I asked Charlie how he learned the trade of blacksmithing, he said, "I just taught myself along the way.  If you want to learn something, you can find the information in a bunch of places.  Don't be afraid to fail."  Charlie is truly an inspiration with a myriad of knowledge.  Him and his wife built their own home here in West Virginia using their own mill and have a lot of general knowledge about the area and homesteading.  Before leaving West Virginia, I wanted to take something unique with me from the area, so I asked Charlie to make us a functional knife, not just something decorative.  The knife handle is made from myrtlewood, a native evergreen from Oregon that a deceased friend (and coworker) gave to us during our five year stay in Portland, OR.  We have carried this block of wood with us for years, reserving it for something special because it is a unique hardwood from a special friend.  The seven inch hand-forged blade is 51-60 steel.  The sheath was hand-stitched by Charlie as well.  All together, the knife is a blend of OR and WV.

The knife and sheath.

A close-up of the knife handle with his trademark showing on the end of the knife blade.  A large C and B for Charlie Bradley.

A stamp on the blade that reads "C. Bradley Culloden, WV."


It's nice that Charlie stamps the knife with the type of steel used: 51-60.

Knife length.

The leftover chunk of myrtlewood the handle was made from.


The blacksmith shop.

I really like the details Charlie put on the front and side door of his shop.  It's like stepping back in time with the old-fashioned look. 


Inside of the blacksmith shop.

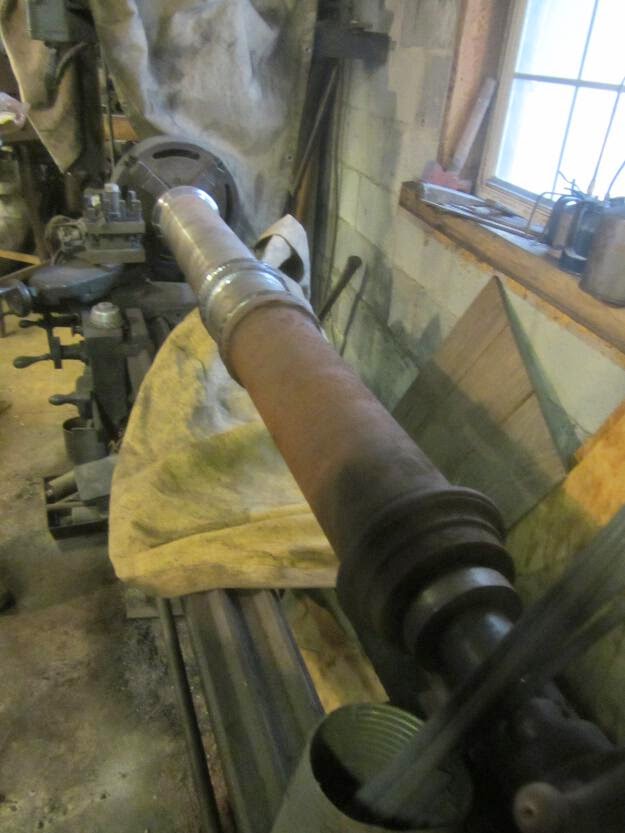
One of many projects he is currently working on, a cannon.

Many tools hanging from the ceiling.


About this blog

A weekly update on our adventures of trying to be more self-sufficient by using resources wisely. We explore a variety of topics that most broadly fit in the "Homesteading" category, i.e. beekeeping, organic gardening, edible landscaping/fruit forest, food preservation/canning, woodworking, soap-making, and environmental stewardship.

Search My Blog

I've been featured on:


Followers

Facebook

Contact Form

Name

Email *

Message *

Powered by Blogger.