Simply Resourceful

Simple ways to be more conscious about how we use our resources.

Showing posts with label Nuts. Show all posts

How to Crack Walnuts the Easy Way!

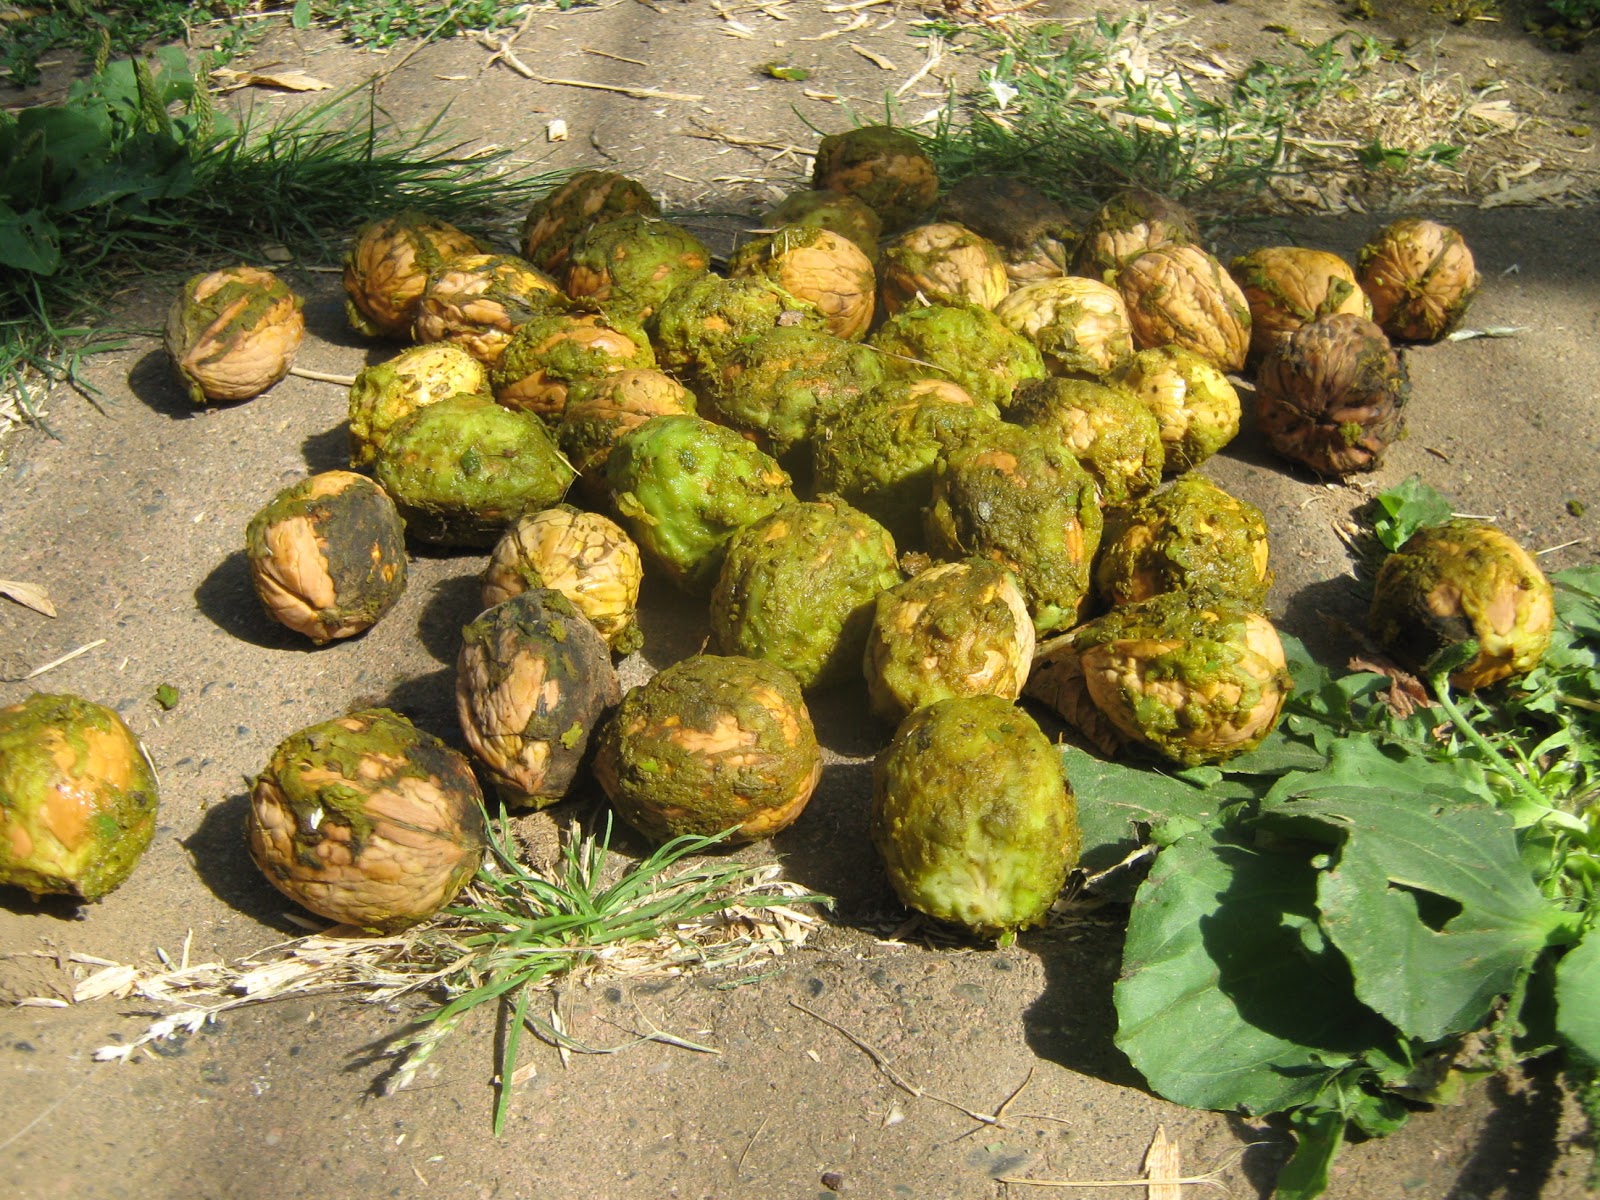
This year we had a great walnut harvest!  In a recent post we describe the details of collecting and removing the hulls. 

The nuts were stored in a paper bag in the basement for four months before the nutmeats were removed.  Black walnuts have a very hard shell.  Without spending money on a nut cruncher, we found the best way to remove the shell is to crush them in a vice.  Placing a cloth around the nut prevents the shells and nutmeats from shattering everywhere.  Note: the cloth you use will get torn up in the process so choose an old rag. 

After cracking you can see the four chambers of the nutmeat. 

We don't have a nut pick set so I used a large sewing needle to pick out the smaller pieces inside the shell.


A paper grocery sack about 2/3 full gave us 1 pound, 7.6 ounces of ready to eat nuts!  The nuts are stored in the freezer.

After all the cracking, I was ready to toss the shells in the woods when I read online to burn them in a fire because they make hot coals.  They were used this year for making maple syrup.


How to Shell Black Walnuts


This fall the walnut tree dropped really large nuts with hulls that were really easy to remove.  This is our third year harvesting walnuts and each year I learn a little bit more about the process.  Most people put the walnuts on their driveway and drive over them to remove the hulls.  We have a gravel driveway leading up to a cement driveway and I really don't want the cement stained so I just step on the nut wearing old shoes and the hull slides right off.  If the hull is hard and doesn't separate from the shell, I toss it in the woods because the nut isn't fully mature.

I also don't keep any nuts that have these white worms hiding under the hulls.  These nuts are usually bad. 

After the hulls are removed I put them in cardboard boxes in partial sun.  Every couple of hours I shake the box until all the nuts are dry.  The two boxes on the right are butternuts...given to us by some friends. 


Jon and Paul found a unique way to remove the hulls this year...hitting them with a baseball bat!  Our son likes to go find them in the yard afterwards.  If you use this method, make sure to check your nuts.  If they get cracked, open them immediately because they will not store well if air gets inside the shell.

Harvesting Walnuts: Take 2!

Last Fall I harvested walnuts for the first time and didn't have very good success.  This year I decided to try it again and how lucky I am to have 5 black walnut trees in the yard at our new house!  I say lucky, but not really, because those pesky nuts are a pain to pick up every time the lawn is mowed.  Compared to last year, this time I had much better success with harvesting the nuts.

I had a pretty basic setup in the front yard.  The nuts that needed to be hulled were on one cardboard box area and the ones drying were on another.  I used a rock to break the hulls off. 

The hulled nuts were added to a bucket of water.  The floaters were removed because that signifies the shell is empty. 

The nuts were rinsed several times to remove the hull residue.  The water doesn't have to be perfectly clear...just not really dark.  In the bucket you can see some fabric.  I was dying a treasure map for my son's birthday party.  Walnut dye is great for "antiquing" fabric.

After the nuts were washed, they were placed on cardboard and left in the sun for a day or two until they were dry.  We don't want the nuts to mold while they are curing. 

The nuts were then hung in onion sacks in the basement.  There are a lot of different recommendations for storage times.  Two weeks was just the right amount of time for us because some of the nuts inside the shell were starting to shrivel up into nothing. 

To crack open the nuts I used a hammer and a brick.

This nut looks perfect!


There was a wide range of ripeness from the nuts I gathered. 

Black walnuts have a much stronger flavor than English walnuts; because of their intense flavor I actually use less in my recipes. 


Harvesting Walnuts

This post is being published 2 months after I typed everything up.  I am a bit embarrassed to publish something that went totally wrong, but hey, someone will learn from my mistakes, and others may have years of experience harvesting walnuts and could post some advice in the comments section!  So here goes the hesitant post:

I have absolutely no idea how to harvest walnuts.  Every online source I find leads me in a different direction, and the people I talk to all have varying opinions on this matter.  So here goes a mish mash of tiral and error when trying to harvest walnuts this fall.  Both trials ended with no success.  If you have a sure-way of harvesting walnuts, please let me know.  I'd like to try again next year!

*All references say to collect the nuts after the tree drops them; meaning, don't pick them directly from the tree.  Living in an urban setting means squirrels, which means very few walnuts on the ground for humans.  My selection was very limited.

*One thing is for certain, walnuts have a very strong dye that discolors everything, so make sure you're wearing gloves, old clothes, and cracking them in a location that can stay permanently discolored for a long time. 

*Dispose walnut hulls in the trash or away from your garden.  Walnuts contain a toxin that can damage the soil and future plant growth.


This next section is the part I'm uncertain about.  Some people wait until the shell is black and falls away from the nut.  I read that brown shells indicate decomposing which creates heat and cooks the nut.  Further in the reading it said to remove the green or mostly green shells.  So...I decided to go with the advice of removing the green shell.  There are many ways to remove the green shell.  A walnut huller is ideal or a cement mixer with a combination of nuts, water and gravel.  I don't have either so I tried shelling them using a hammer to crack the shell and then using my fingers to pry off the remaining shell.  This was a lot of work, and in the process, I ripped a tiny hole in the glove which leaked that dye into my glove discoloring my hand and thumb nail for weeks!  I also tried the hammer method followed by a grout mixer on the end of a drill agitating the nuts in a bucket full of water.  This method was a lot faster and it saved my gloves from holes.  If I discover it's worth harvesting walnuts, I will designate an old pair of work gloves for this task instead of using these disposable ones. 

(Using a hammer, I broke open the green shell.  I did this on a tuft of grass on top of cement to soften the blow of the hammer on the concrete.)

(After the green shell is removed.)

(A drill with a grout mixture attachment)

(Removing skins with the help of the grout mixer and some water.)

After removing as much of the green shell as I could, I rinsed the nuts with water in a bucket, swirling the nuts around until the water was almost clear.  


Then I put the nuts in an old onion sack and hung them under the eaves by our back door to dry.  They are to dry in a warm location (out of the sun) for about 2 weeks (some say 3 or 4 days) or until the shell easily breaks.  Nuts will spoil if the temperature exceeds 105 degrees. 


The results: 

(I decided to crack the first batch of nuts after 1 week and they were all shriveled up but still rubbery.)

(Some of the nuts actually looked burnt.)

(These were some of the good-looking nuts that were still a little rubbery and needed to harden.)

(Here's the inside of the shell---you can see the four chambers really well.  Kinda cool!)

(The inside of a nut, still wet.)


(After a few days of drying the nuts on a towel, the nuts that actually looked pretty edible, dried up into raisin-like nuts.  So...we did not have any success with harvesting walnuts using the above methods.  We still had fun though and learned a lot!)

I didn't find any black nuts on the ground this fall because the squirrels got to them first; or perhaps I should collect the green nuts and let them blacken in a dark place before they are shulled?   I have no clue, but I'll try again next year!  If you have any advice, please post in the comments section!  : )


About this blog

A weekly update on our adventures of trying to be more self-sufficient by using resources wisely. We explore a variety of topics that most broadly fit in the "Homesteading" category, i.e. beekeeping, organic gardening, edible landscaping/fruit forest, food preservation/canning, woodworking, soap-making, and environmental stewardship.

Search My Blog

I've been featured on:


Followers

Facebook

Contact Form

Name

Email *

Message *

Powered by Blogger.